
How To Make A Reusable Fabric Gift Bag - by my friend Jennifer
I have a raging hatred of wrapping paper. Not wrapping paper on gifts that others have given me, of course. That would be in the "Gift Horse in the Mouth" category of social behaviour. However, for gifts that I am giving to others, I am loathe to use wrapping paper. This hatred dates back to the early nineties when environmentalism was almost as chic as it is now. My family was pretty into the whole thing and we started wrapping most of our Christmas presents in newspaper.
My attitude towards conventional wrapping paper has not changed, though I have graduated from newspaper to re-usable gift bags that I make all by myself. I make the bags every year and give them all away. The people who get them give them away the following year and it goes on like that. The only drawback is my having to make a new crop of bags every year, often when I am just getting sick of sewing quilts and other gifts.
Anyway, a few people have asked about the making of the bags so I have prepared this short tutorial to demonstrate how crazy-easy it is. A set of these bags actually makes a nice gift on its own, especially if you use really pretty fabric. I did this for the Octopus Books staff gift exchange this year and it was a hit. (Right, Lisa?)
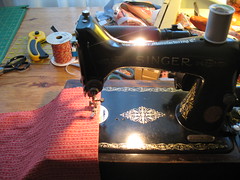
So first, and most importantly, figure out which 1970's childhood Christmas album you're going to listen to while you sew:
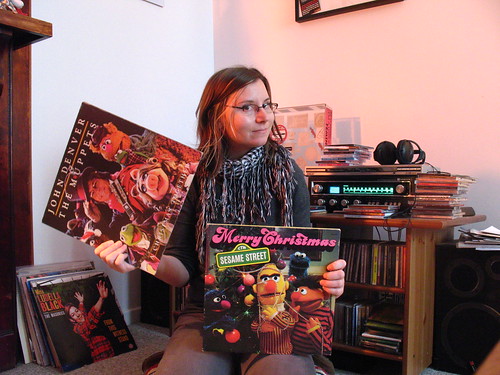
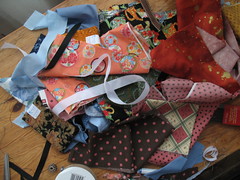
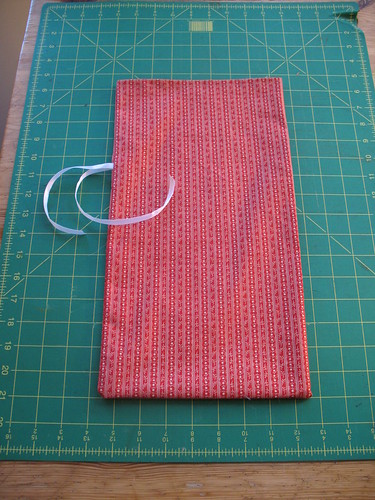
So maybe you have a bunch of fabric scraps already littering your sewing table? Pick out a chunk of fabric big enough to surround whatever it is you'd like to wrap. If you have and want to use ribbons or twine, pick some that matches.So first, and most importantly, figure out which 1970's childhood Christmas album you're going to listen to while you sew:
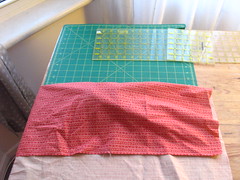
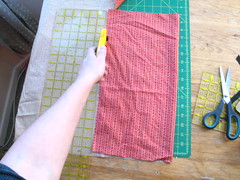
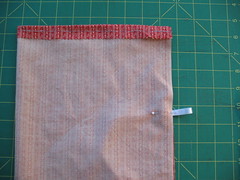
(I have a fancy rotary cutter and ruler, but you can just cut it with fabric scissors. This does not need to be exact. It is a very forgiving project.)


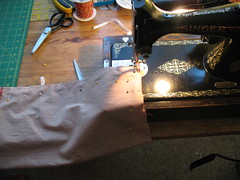
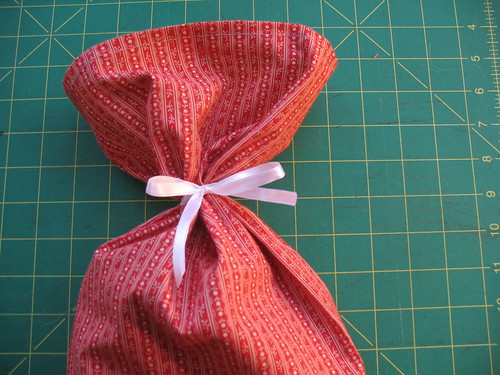
Good luck! Here's to garbageless Christmases of the future!
J.
Jen, I still use one of these that contained, I think, my Xmas decoration. It now holds other treasures very nicely!
ReplyDeleteom/mb
I have the one in the last picture!
ReplyDeleteThanks a lot for the tutorial, i really like this a lot, the last year i put this in practice because i didn't have to much money for gif in Christmas and i save a lot of money doing this.
ReplyDelete